I’m timeboxing the creation of this blog post, so I can continue to work on my game for the apple vision pro. I’ve had the thing for a week now, and in the weeks leading up to the launch date, I began working on a port of a game I’ve worked on previously (but never released) called Puzzle Prison.
I have planned (for quite a while, really) to write a blog post about how and why I never launched Puzzle Prison, but I’ll go into it briefly here. It was a game I developed for originally for Google Cardboard. I actually showed it at an event at GDC one year (2016, maybe?), and at numerous events locally around the Twin Cities. (Various VR & HCI events and meetings, Twin Cities Maker Faire, in the lobby at a TEDx event, and probably other events too.)
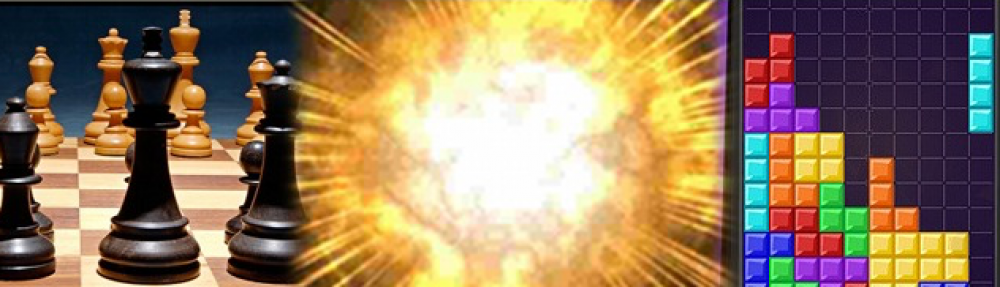
The game is fairly simple. It’s a SameGame variant, with the twist that the game is played on four walls, one in each direction. It is a stupidly simple way to bring a 2D grid-based game into the third dimension, and despite having lots of ideas for how to make the game better than what I describe (I implemented a few of them), the simplest game ideas are often the best ones, and the base game idea was probably the best version of it.
Here’s a trailer I put out there at some point:
One reason I never launched the thing was that new platform development kept being more compelling than launching for the current platform. By the time the game was polished enough to release for Google Cardboard, I was doing a lot of “real” (3DoF) VR development, mostly for Vive, and I decided that I thought Google Cardboard was essentially dead, and I would wait to release it when the steam version was finished. Then I had similar thoughts about SteamVR, and wanted to release it for the Oculus Quest. I really should have just launched it on iOS and Android and been done with it.
Anyway, fast forward a bunch of years to this year’s WWDC, and I’m ecstatic to be able to work on a game for Apple’s new headset in Swift! And the APIs look great! I spent some time looking through my various VR game ideas, and nothing really jumped out at me as something as easy to make as Puzzle Prison. The project has another big plus going for it, and that’s the fact that I already have a bunch of awesome audio assets that I’d love to use and include.
Okay, so it’s a week after the headset launched. Two weeks ago, I thought I’d have an app out by now. What’s the holdup?
First thing, the game is playable. I’m tempted to launch a first version as/is, and improve it incrementally. But it’s missing a lot of stuff, and for one thing, I still haven’t implemented those aforementioned audio files.
But there’s another issue I’m working through, and weirdly, it’s related to game design. The original game has what I think are pretty awesome “block breaking” animations. (I’ll get to how this is relevant in a second.) I actually think they may be some of the best animations I’ve ever created in a game. (To be honest, it might be the only animation I’ve ever created that wasn’t directly necessary for a game’s design.) The game without them is totally fine, and playable… except… they take some time. A second or two. And at some point I implemented a feature in the old version of the game where there is a multiplier. If you break more than one group at a time, it increments a multiplier, and the second group is worth more points. But because the game currently has no animation, the scoring isn’t the same as the old game.
There are other effects that I think are more important than the block breaking effect. Namely showing you when and where the game is in danger of ending, as well as an effect for when the game does actually end. Both are not just cosmetic, but have important UX impact. So they may get my attention first, but I’ll get to those block breaking animations eventually.
 Last week I launched